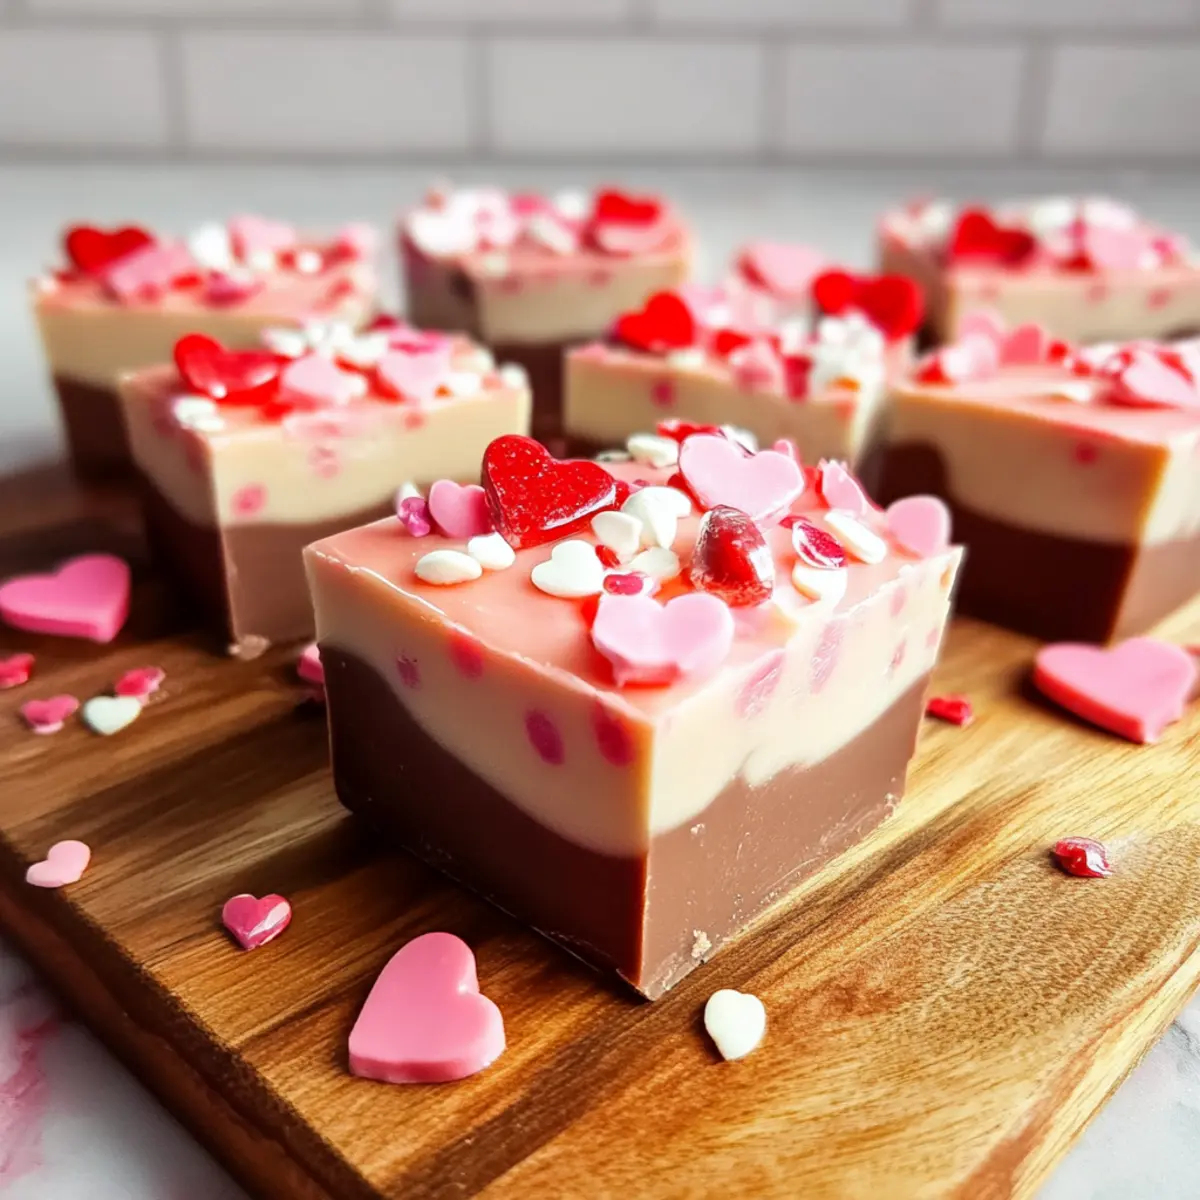
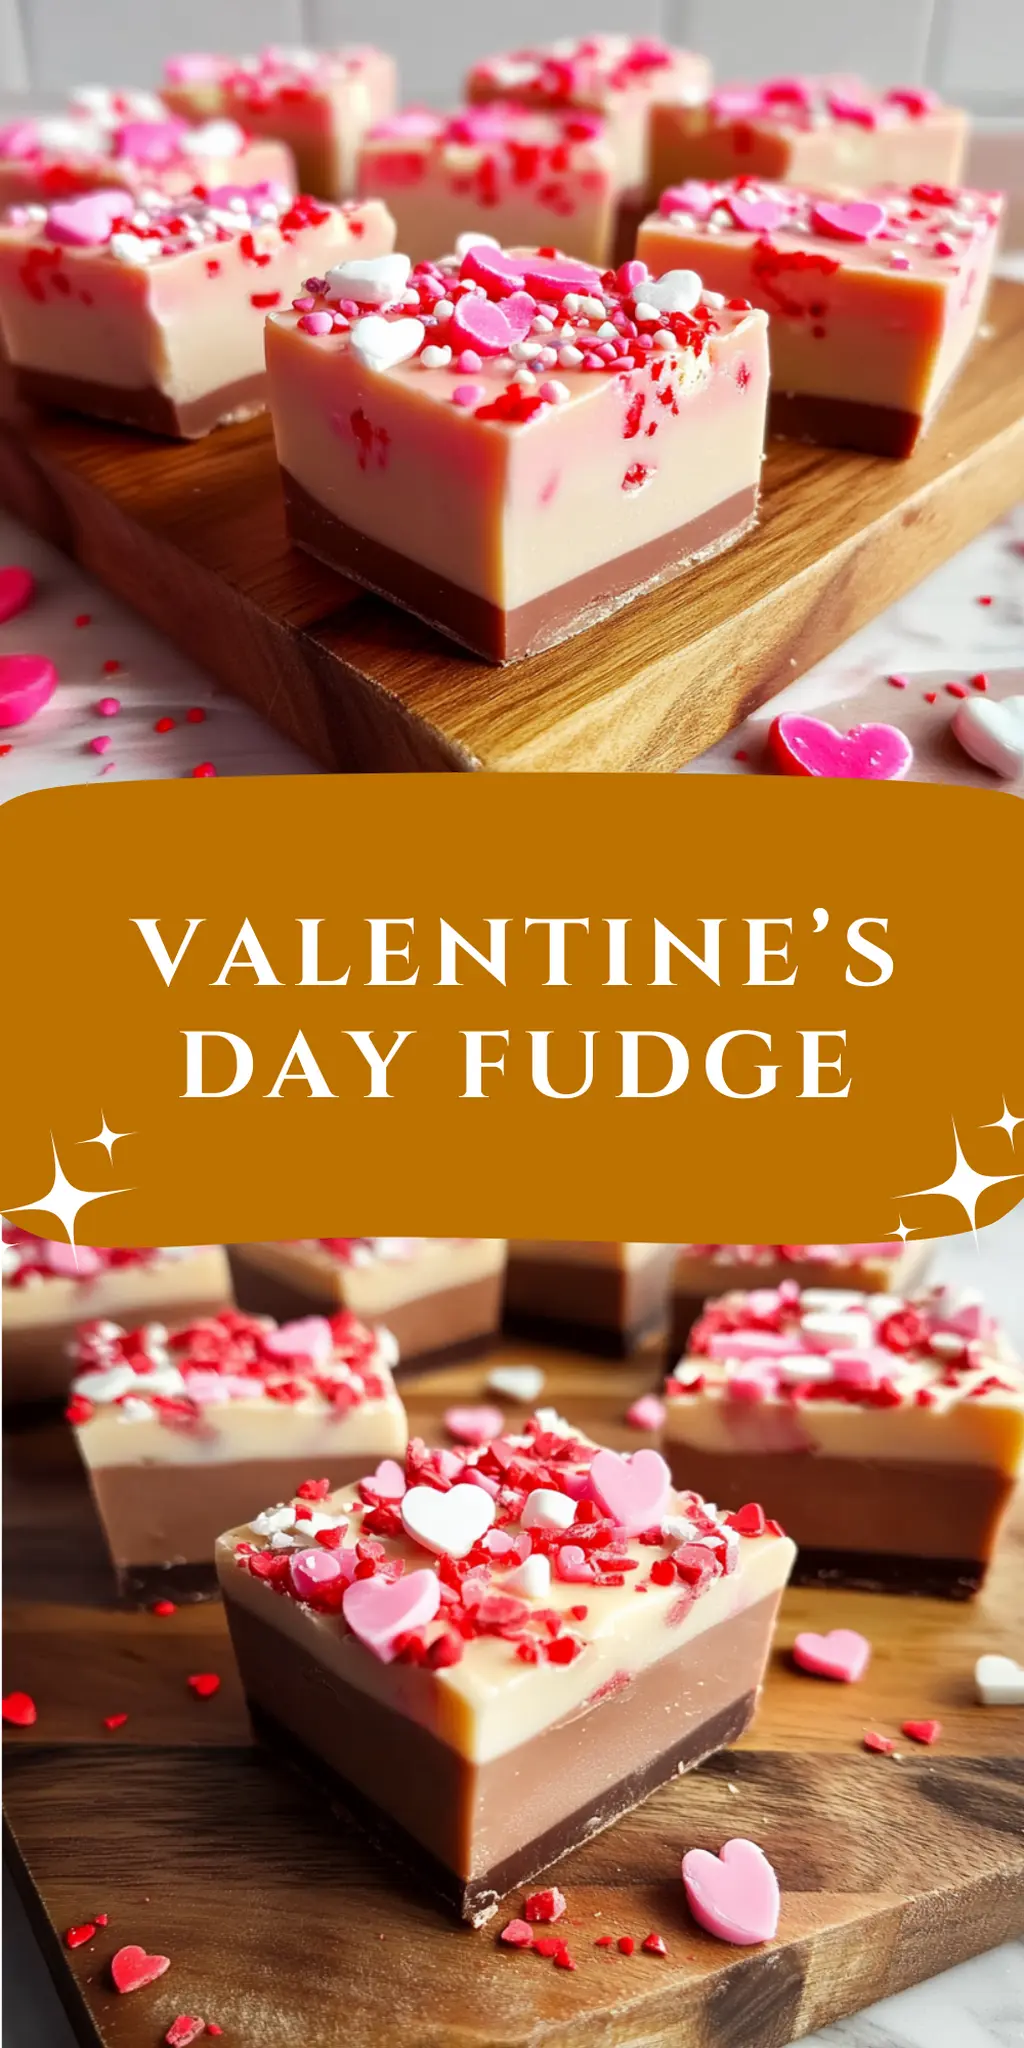
As the calendar inches closer to February 14th, I find myself daydreaming about sweet gestures of love, and there’s nothing quite as delightful as homemade treats. One afternoon, inspired by the whimsical spirit of Valentine’s Day, I decided to create a simple yet show-stopping dessert that captures the essence of the holiday: Valentine’s Day Fudge. Picture this: luscious layers of creamy white chocolate tantalizing your taste buds, a hint of vanilla dancing through the air, and vibrant sprinkles adding a festive touch.
With just a handful of ingredients and only a few minutes of hands-on time, this fudge not only brings joy to the occasion but also ensures you can whip it up even on the busiest of days. Whether you’re planning a romantic dinner or just want to indulge your sweet tooth, this luscious treat is guaranteed to impress. Join me as we embark on a delightful journey to craft the perfect Valentine’s Day Fudge that will have everyone craving seconds!
Why You'll Love This Valentine’s Day Fudge
- This Valentine’s Day Fudge is incredibly easy to make, requiring just a handful of ingredients and minimal hands-on time.
- The flavor is simply divine, with luscious white chocolate and a hint of vanilla that will delight your taste buds.
- Its versatility allows you to customize the colors and sprinkles, making it perfect for any celebration or gathering.
- Plus, the visual appeal of those vibrant layers will surely impress and make your dessert table stand out.
Valentine’s Day Fudge Ingredients
For the Fudge Base
• White chocolate chips – 3 cups, divided; the base of your fudge that provides creamy sweetness.
• Sweetened condensed milk – 14 ounces (1 can); adds richness and helps bind everything together.
• Salt – 1/8 teaspoon, divided; enhances the sweetness and balances flavors.
For Flavoring and Color
• Red food coloring – 2-4 drops; use to add a lovely pink hue to your fudge.
• Vanilla extract – 1 teaspoon, divided; infuses your fudge with warm, inviting aromas.
For Topping
• Valentine’s Day sprinkles – as desired; sprinkle on top for a festive touch and added crunch.
How to Make Valentine’s Day Fudge
-
Prepare the Pan: Start by lining an 8×8-inch baking pan with parchment paper. This simple step ensures easy removal of your fudge later and keeps it from sticking.
-
Melt the First Layer: Combine 1 ½ cups of white chocolate chips with half of the sweetened condensed milk and half of the salt in a microwave-safe bowl. Heat in 30-second increments, stirring between each session until the mixture is smooth and creamy.
-
Add Flavor and Color: Stir in 1/2 teaspoon of vanilla extract along with a few drops of red food coloring. Mix well until you achieve a lovely pink hue that’s perfect for Valentine’s Day.
-
Set the First Layer: Pour your melted mixture into the prepared pan, spreading it evenly. Let it set for 30 minutes at room temperature, allowing it to firm up nicely.
-
Melt the Second Layer: Repeat the melting process with the remaining white chocolate chips, sweetened condensed milk, and salt—this time, without any food coloring. This will be the creamy top layer of your fudge.
-
Combine the Layers: Pour the second layer over the first, gently spreading it to cover completely. Sprinkle your Valentine’s Day sprinkles on top, pressing them in lightly to ensure they stick beautifully.
-
Final Set: Allow the fudge to set for 2 hours at room temperature or in the fridge until fully firm. Once set, cut into squares and enjoy your delightful creation!
Optional: Top with a drizzle of melted chocolate for an extra special touch.
Exact quantities are listed in the recipe card below.
Make Ahead Options
These Valentine’s Day Fudge treats are perfect for busy cooks looking to save time during the holiday hustle! You can prepare the first layer of fudge up to 24 hours in advance; simply melt, combine, and let it set before refrigerating. The second layer can also be prepped ahead and stored for up to 3 days in the fridge before serving. To maintain quality, wrap the fudge tightly in plastic wrap to prevent it from drying out. When you’re ready to impress, just pour the second layer over the first, add your sprinkles, and let the fudge set again for about 2 hours. This way, you’ll have a deliciously festive treat with minimal last-minute effort!
What to Serve with Valentine’s Day Fudge?
Elevate your Valentine’s Day celebration with these perfect pairings that will complement the rich sweetness of your fudge.
-
Fresh Strawberries: Slice fresh strawberries to provide a fruity contrast and enhance the chocolatey flavor.
-
Pink Champagne: This bubbly delight adds a festive touch, perfectly pairing with the fudge’s sweetness for romantic vibes.
-
Vanilla Ice Cream: Creamy ice cream balances the richness of the fudge, creating a delightful dessert experience that’s indulgent yet soothing.
-
Chocolate-Covered Pretzels: The sweet and salty combination adds texture, making for a fun and crunchy sidekick to your velvety fudge.
-
Raspberry Sauce: Drizzle this tart sauce over the fudge for a beautiful and flavorful contrast that brightens the taste.
-
Whipped Cream: A dollop of light, fluffy cream on the side offers a delightful contrast, enriching the decadence of the fudge itself.
-
Herbal Tea: Offering a warm, calming flavor, herbal tea provides a soothing companion after indulging in the rich fudge.
-
Heart-Shaped Cookies: Bake heart-shaped cookies to serve alongside for a whimsical touch, adding a playful element to your dessert spread.
Transform your fudge into the centerpiece of a charming, love-filled feast!
How to Store and Freeze Valentine’s Day Fudge
Room Temperature: Keep the fudge in an airtight container at room temperature for up to 3 days to maintain its soft and creamy texture.
Fridge: For longer-lasting freshness, store in the refrigerator for up to 2 weeks. Ensure it’s in an airtight container to prevent drying out.
Freezer: Valentine’s Day Fudge can be frozen for up to 2 months. Wrap it tightly in plastic wrap, then place it in a freezer-safe container for best results.
Reheating: If you prefer a softer texture, let the fudge sit at room temperature for 30 minutes before serving. Enjoy the delightful treat!
Valentine’s Day Fudge Variations
Feel free to get creative and make this fudge your own with these delightful twists!
-
Dark Chocolate: Substitute half of the white chocolate chips with dark chocolate for a richer flavor. The combination adds a sophisticated touch.
-
Nutty Delight: Fold in chopped nuts like pecans or almonds for a satisfying crunch that perfectly complements the creamy texture.
-
Minty Fresh: Add a few drops of peppermint extract for a refreshing mint flavor that pairs beautifully with chocolate. This will make your fudge even more irresistible!
-
Fruit Fusion: Incorporate freeze-dried strawberries or raspberries for a fruity burst of flavor and beautiful color throughout your fudge.
-
Spicy Kick: Add a pinch of cayenne pepper or cinnamon to the fudge mixture for a surprising warmth that elevates its taste profile. The subtle heat makes it memorable!
-
Gourmet Sea Salt: Sprinkle a touch of flaky sea salt over the top of the fudge before it sets for a delicious sweet-and-salty contrast that will have taste buds dancing.
-
Fun Molds: Use silicone molds instead of a pan to create fun shapes for your fudge. Perfect for gifts or festive party treats!
-
Flavor Infusions: Experiment with flavored extracts, like almond or hazelnut, to introduce subtle notes that can completely change the fudge experience.
Chef's Helpful Tips
- When making Valentine’s Day Fudge, ensure you are using high-quality white chocolate chips for the best creamy texture and flavor.
- Avoid overheating the chocolate in the microwave; always melt in short 30-second intervals, stirring in between to prevent it from burning.
- For a more vibrant color, add the red food coloring little by little until you achieve your desired hue, but be careful not to overdo it.
- Finally, let each layer set adequately before adding the next to maintain the beautiful layers and prevent mixing.
Valentine’s Day Fudge Recipe FAQs
How do I choose the right white chocolate chips?
Absolutely! It’s best to select high-quality white chocolate chips that contain cocoa butter for a luscious, creamy texture. Avoid products labeled as “white baking chips” since they often contain low-quality fats. Look for brands that list cocoa butter as the first ingredient for a delightful taste in your Valentine’s Day Fudge.
How should I store leftover fudge?
Very! To keep your fudge fresh, store it in an airtight container at room temperature for up to 3 days. For longer preservation, move it to the refrigerator, where it will last for up to 2 weeks. Just ensure it’s tightly sealed to prevent it from drying out. Trust me, you don’t want to miss out on those layers of creamy goodness!
Can I freeze Valentine’s Day Fudge?
Absolutely! To freeze your fudge, wrap it tightly in plastic wrap and place it in a freezer-safe container. This way, it will stay fresh for up to 2 months. When you’re ready to enjoy it, simply let it thaw in the fridge overnight or at room temperature for about 30 minutes. It’s a sweet treat waiting for you whenever the craving hits!
What if my fudge isn’t setting properly?
Oh no! If your fudge isn’t setting, it could be due to a few reasons. First, make sure you melted the chocolate correctly; it should be smooth and not overheated. If it feels too soft, you can return it to a microwave-safe bowl, re-melt it slightly, and add a touch more white chocolate or condensed milk to get it to the right consistency before setting it again.
Is this fudge suitable for dietary restrictions?
Very! This Valentine’s Day Fudge is vegetarian-friendly, but if you’re allergic to dairy or sensitive to gluten, you can use dairy-free chocolate chips and a non-dairy condensed milk alternative. Always check labels to make sure they suit your dietary needs. This way, everyone can indulge in the festive sweetness!
Can I customize the fudge with other flavors or colors?
Yes, indeed! Get creative with your fudge by experimenting with different extracts like almond or peppermint for unique flavors. You can also adjust the food coloring to your liking, perhaps using green or purple for other occasions. The more the merrier when it comes to personalizing your Valentine’s Day Fudge!
Valentine’s Day Fudge
Ingredients
Equipment
Method
- Start by lining an 8×8-inch baking pan with parchment paper.
- Combine 1 ½ cups of white chocolate chips with half of the sweetened condensed milk and half of the salt in a microwave-safe bowl. Heat in 30-second increments, stirring between each session until the mixture is smooth and creamy.
- Stir in 1/2 teaspoon of vanilla extract along with a few drops of red food coloring. Mix well until you achieve a lovely pink hue that’s perfect for Valentine’s Day.
- Pour your melted mixture into the prepared pan, spreading it evenly. Let it set for 30 minutes at room temperature.
- Repeat the melting process with the remaining white chocolate chips, sweetened condensed milk, and salt—this time, without any food coloring.
- Pour the second layer over the first, gently spreading it to cover completely. Sprinkle your Valentine’s Day sprinkles on top, pressing them in lightly to ensure they stick beautifully.
- Allow the fudge to set for 2 hours at room temperature or in the fridge until fully firm. Once set, cut into squares and enjoy your delightful creation!