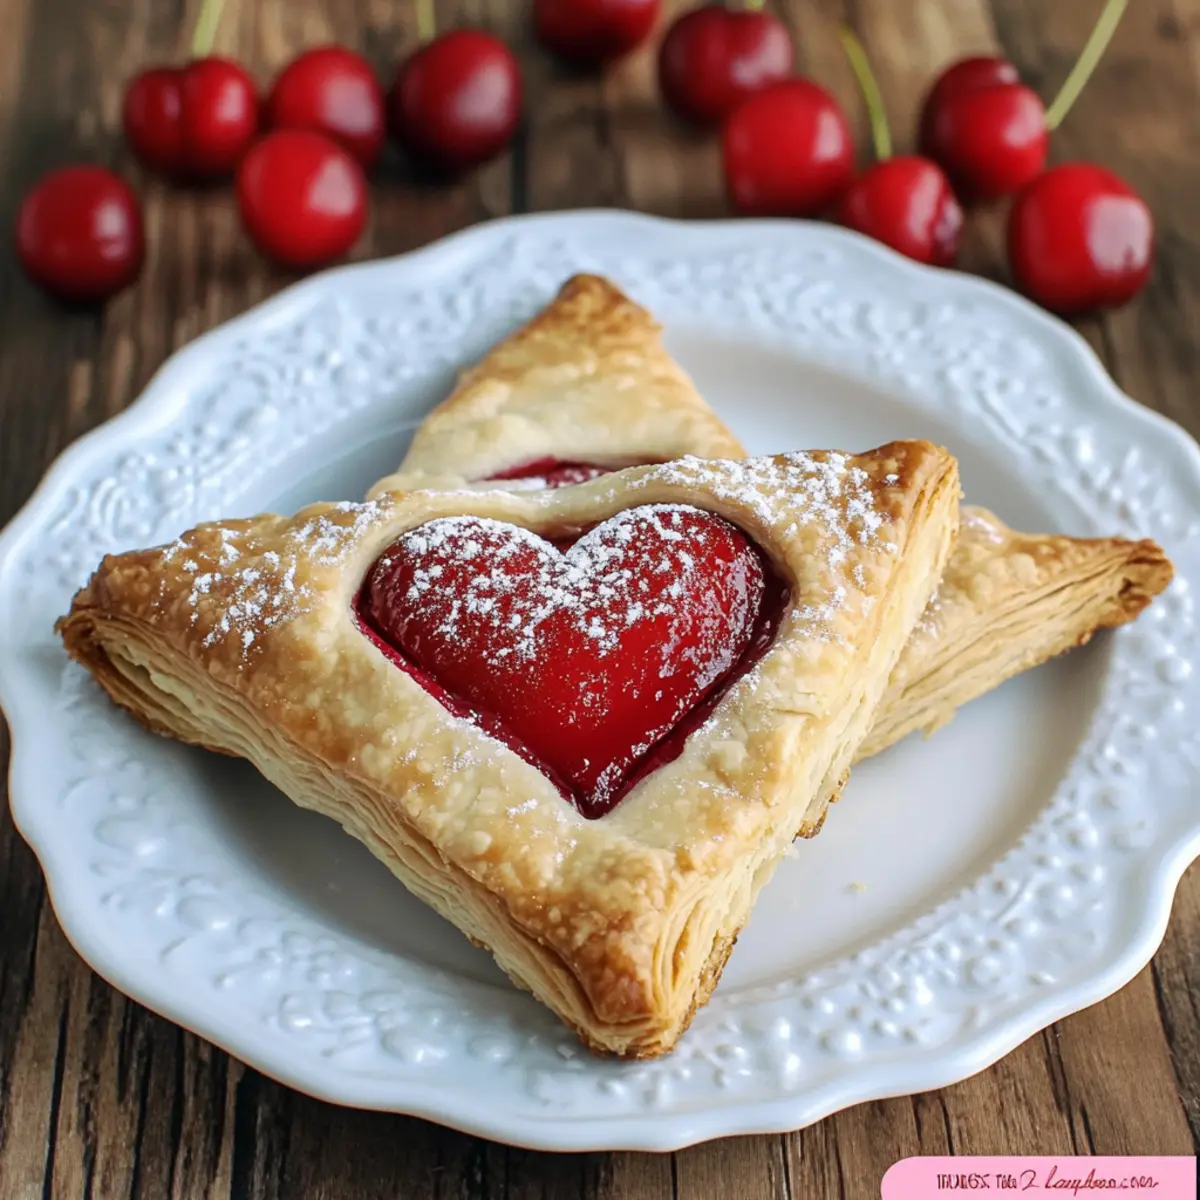
There’s something undeniably heartwarming about the smell of cherry pie wafting through the kitchen, evoking memories of family gatherings and lazy summer afternoons. The beauty of these Cherry Pie Pastry Envelopes lies not just in their delightful flavor, but in how effortlessly they bring a sense of nostalgia and joy to the table. When I first discovered this charming recipe, I was captivated by the whimsical heart-shaped design that transforms a classic dessert into an adorable treat perfect for any occasion.
These little pockets of cherry goodness are a game changer for anyone tired of the same old dessert routine. With just a few simple ingredients and only 40 minutes of your time, you can impress your friends and family with homemade sweet creations that look as fantastic as they taste. Whether you’re hosting a gathering, need an easy potluck option, or just want to indulge in something special, these pastry envelopes make every bite feel like a celebration. Let’s dive into this deliciously fun recipe that’s bound to become a favorite in your kitchen!
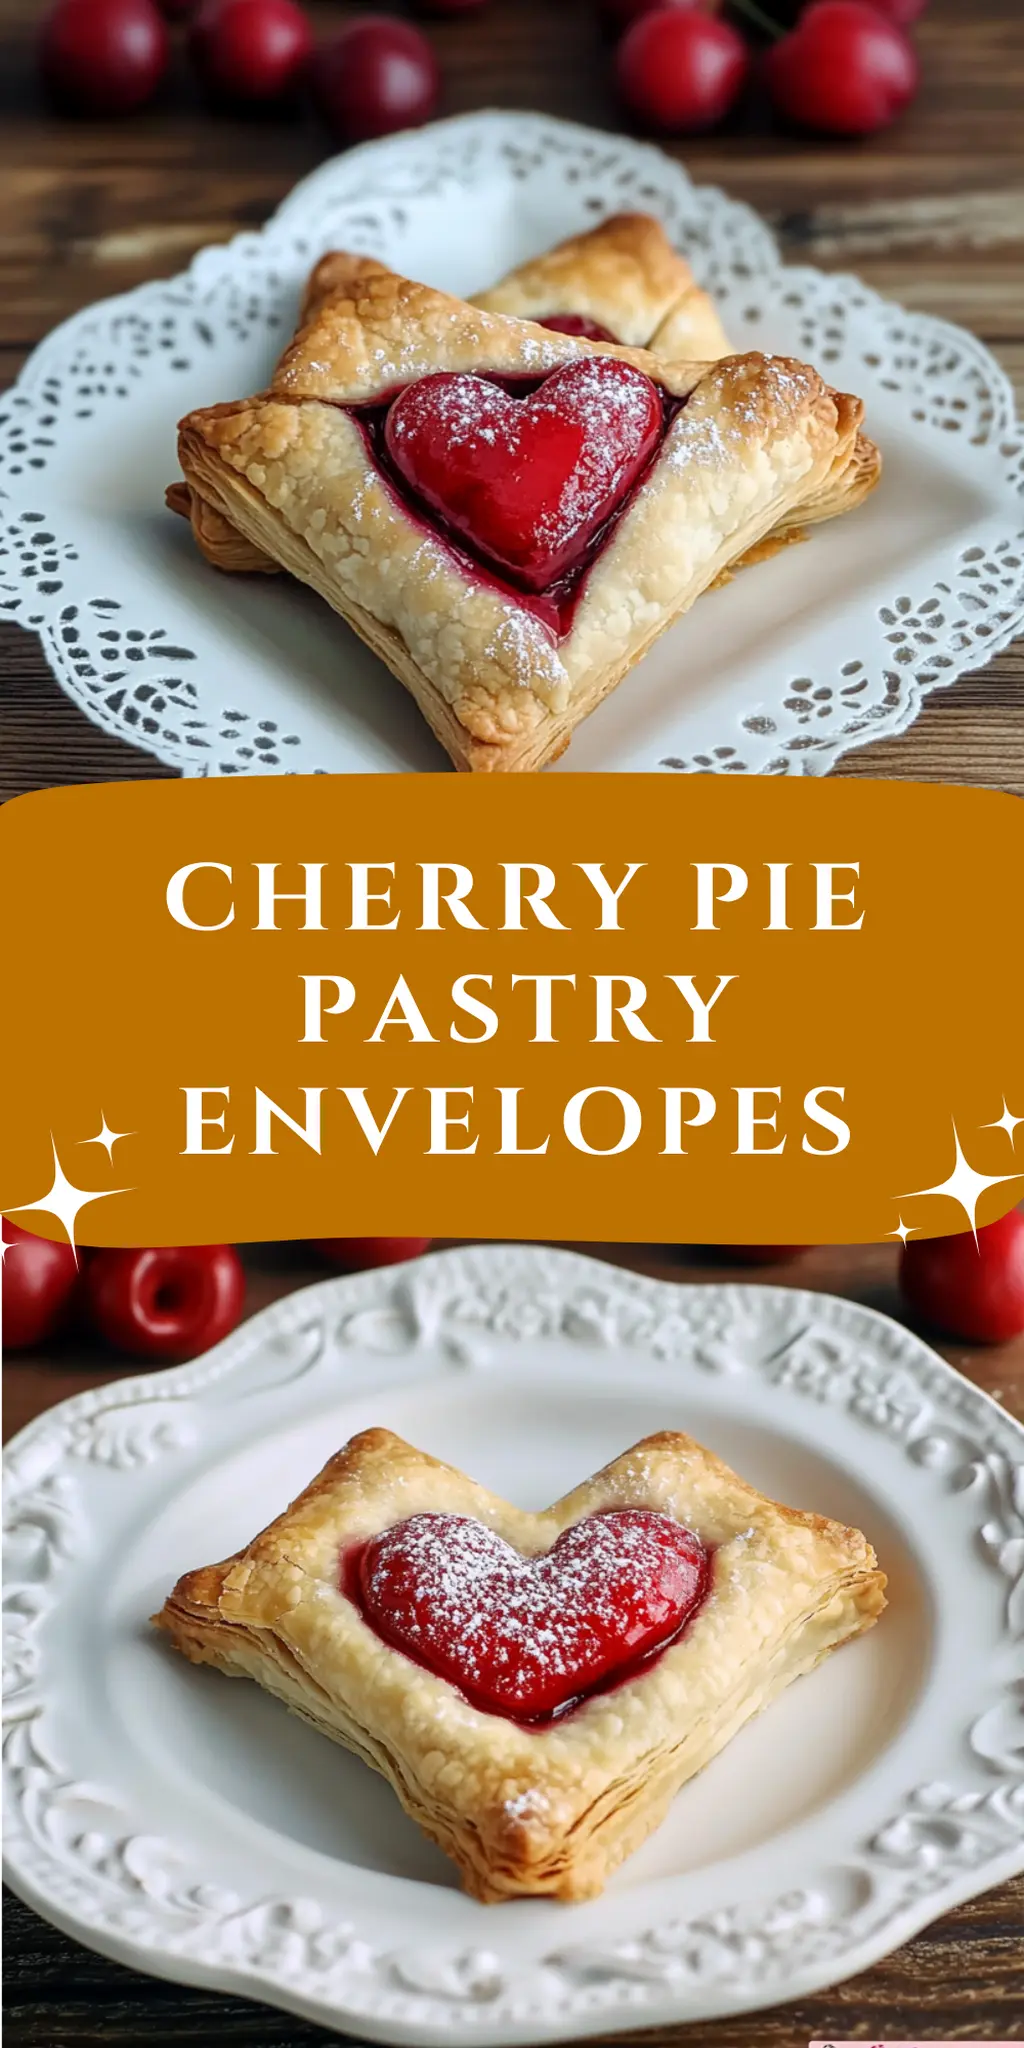
Why You'll Love This Cherry Pie Pastry Envelopes
- These Cherry Pie Pastry Envelopes are a breeze to make, allowing you to whip up a delightful dessert in just 40 minutes.
- Their heart-shaped design not only elevates the visual appeal but also adds a charming touch that is sure to impress your guests.
- The sweet and tangy cherry filling wrapped in flaky pastry creates an explosion of flavor that will have everyone coming back for seconds.
- Plus, they are versatile enough to be served at various occasions, making them a perfect addition to your dessert repertoire.
Cherry Pie Pastry Envelopes Ingredients
For the Pastry
- Refrigerated pie crust – a time-saver that guarantees flaky and delicious pastry without the fuss of making dough from scratch.
For the Filling
- Cherry pie filling – opt for a high-quality brand or homemade version to enhance the flavor of your Cherry Pie Pastry Envelopes.
For the Topping
- Sparkling sugar – adds a delightful crunch and a touch of sweetness, making your envelopes look extra special.
- Whipping cream – brush this over the pastries for a lovely glaze that helps the sugar adhere while adding richness.
For Assembly
- 4 x 5 inch paper envelope – helps shape the heart and can be used as a fun template for cutting your pastry.
- Heart-shaped cookie cutter – creates those adorable shapes that make these pastries even more delightful!
How to Make Cherry Pie Pastry Envelopes
-
Preheat your oven to 375°F (190°C). This step ensures that your Cherry Pie Pastry Envelopes bake evenly, achieving that perfect golden color.
-
Unroll the pie crust on a floured surface. Gently roll it out to maintain that flaky texture, ready to be transformed into delightful pockets!
-
Cut out heart shapes for the envelopes using your heart-shaped cookie cutter. Aim for a size that can hold a generous spoonful of cherry filling—around 4 inches wide works beautifully.
-
Spoon the cherry pie filling onto one heart-shaped crust. Place a nice dollop in the center, leaving room around the edges for sealing.
-
Seal the envelope with a second heart-shaped crust by pressing the edges together firmly. Ensure there are no gaps to keep the delicious filling secure during baking.
-
Brush the pastries with whipping cream. This acts as a delectable glaze that adds richness and helps the sparkling sugar to stick, enhancing both flavor and presentation.
-
Sprinkle the sparkling sugar generously over the tops. This will give your pastries a lovely texture and a touch of sweetness that glistens in the light.
-
Bake the envelopes in the preheated oven for 20-25 minutes until golden brown and fragrant. Keep an eye on them to catch that perfect moment of goodness!
-
Cool the pastries slightly before serving. They will be hot, and letting them rest for a few minutes allows the flavors to settle beautifully.
Optional: Serve with a dollop of whipped cream for an extra treat!
Exact quantities are listed in the recipe card below.
Make Ahead Options
These Cherry Pie Pastry Envelopes are perfect for busy cooks looking to save time without sacrificing flavor! You can prep the heart-shaped pastry envelopes up to 24 hours in advance. Simply cut the pie crust shapes, fill them with cherry pie filling, and seal them according to the recipe. For best results, cover them tightly with plastic wrap and refrigerate to maintain their freshness. When you’re ready to enjoy this delightful treat, just brush them with whipping cream, sprinkle with sparkling sugar, and bake as directed. This way, you’ll have delicious, homemade pastry envelopes ready to impress at a moment’s notice, all while keeping your kitchen workflow seamless!
Cherry Pie Pastry Envelopes Variations
Feel free to get creative and make these delightful pastry envelopes your own with these fun twists!
-
Berry Bliss: Swap out cherry filling for mixed berries for a vibrant, fruity explosion that’s bursting with flavor!
-
Almond Joy: Add a teaspoon of almond extract to the cherry filling for a delicious, nutty undertone that enhances the sweetness beautifully.
-
Chocolate Drizzle: Finish your baked envelopes with a drizzle of melted chocolate for an indulgent touch that chocolate lovers will adore.
-
Coconut Cream: Mix shredded coconut into the cherry filling for a tropical flair and added texture that transports you to a beachside paradise.
-
Spicy Surprise: Add a pinch of cayenne pepper or red pepper flakes to the cherry filling to give these pastries a sweet heat that tantalizes the taste buds.
-
Nutty Crunch: Sprinkle chopped nuts like pecans or walnuts on top before baking for a delightful crunch that contrasts the soft filling.
-
Cinnamon Sugar: Mix cinnamon with your sparkling sugar for a warm, aromatic topping that adds a comforting spice to every bite.
-
Mini Envelopes: Use smaller cookie cutters to create bite-sized pastries perfect for snacking or party platters, making them endlessly fun to share!
How to Store and Freeze Cherry Pie Pastry Envelopes
Room Temperature: Store Cherry Pie Pastry Envelopes in an airtight container for up to 2 days. Enjoy them fresh for the best flavor and texture!
Fridge: If you want to keep them a bit longer, refrigerate for up to 5 days in a sealed container. Reheat in a microwave or toaster oven for a few minutes before serving.
Freezer: For longer storage, freeze them unbaked or baked for up to 3 months. Place them in freezer-safe bags or airtight containers. Bake straight from the freezer, adding a few extra minutes to the cooking time.
Reheating: To reheat, place baked envelopes in a preheated oven at 350°F (175°C) for about 10-15 minutes. This restores their delicious crunch while warming the cherry filling inside.
What to Serve with Cherry Pie Pastry Envelopes?
Get ready to create a delightful dessert experience that will thrill your taste buds and warm your heart.
-
Vanilla Ice Cream: The creamy richness of vanilla ice cream perfectly balances the tart cherry filling, adding a luscious contrast to every bite.
-
Fresh Whipped Cream: Light and airy, whipped cream enhances the sweetness of the cherries, making your dessert feel indulgent and celebratory.
-
Chocolate Sauce: Drizzling warm chocolate sauce brings an extra layer of flavor that complements the cherries beautifully, creating a decadent treat.
-
Coffee or Tea: A warm cup of coffee or tea pairs wonderfully with these pastries, providing a comforting beverage that enhances the dessert experience.
-
Berry Salad: Tossed with fresh strawberries, blueberries, and a hint of mint, a berry salad offers a refreshing burst of flavor to balance the sweetness of the envelopes.
-
Lemonade or Iced Tea: A chilled glass of lemonade or iced tea can brighten the palate, making for a refreshing companion to these delightful pastries.
-
Almond Croissant: The nutty flavor of an almond croissant can enhance the cherry filling while providing an additional layer of texture to your dessert table.
-
Pecan Pie Bars: These flavorful bars introduce a warm, nutty crunch that plays wonderfully against the softness of the cherry filling, creating a delightful contrast.
Chef's Helpful Tips
- When making Cherry Pie Pastry Envelopes, ensure your pie crust is chilled to maintain flakiness during baking.
- Avoid overfilling the hearts to prevent any spillover, which can affect their shape and texture.
- For a perfect seal, gently press the edges with a fork or your fingers to avoid any leaks while baking.
- Keep a close eye on the envelopes during the last few minutes in the oven, as they can quickly go from golden to burnt.
Cherry Pie Pastry Envelopes Recipe FAQs
How do I choose the best cherries for my filling?
Absolutely! If you’re using fresh cherries, look for ones that are plump and firm with a deep red color. Avoid any with dark spots or blemishes. If opting for canned filling, choose a brand that uses real cherries and minimal additives for the best flavor.
How should I store my Cherry Pie Pastry Envelopes?
For room temperature storage, keep your Cherry Pie Pastry Envelopes in an airtight container for up to 2 days. If you want them to last longer, refrigerate them in a sealed container for up to 5 days. Just remember to reheat them for a few minutes before enjoying to bring back that fresh-baked taste!
Can I freeze Cherry Pie Pastry Envelopes, and how?
Definitely! You can freeze your Cherry Pie Pastry Envelopes either unbaked or baked. To freeze unbaked, assemble the envelopes, then place them on a baking sheet and freeze until solid. Once frozen, transfer them to freezer-safe bags. For baked envelopes, let them cool completely, then store in airtight containers. Both can last up to 3 months. To bake from frozen, just add a few extra minutes to the cooking time!
What can I do if my pastry envelopes are leaking during baking?
Very often, leaks occur due to overfilling or insufficient sealing. If this happens, don’t fret! You can quickly remedy a leak by gently folding any exposed pastry back over the filling or using the fork to crimp the edges together more securely. If they’re still leaking, enjoy the rustic look — it’s the delicious filling that counts!
Are there any dietary considerations for making Cherry Pie Pastry Envelopes?
If you’re concerned about allergies, you’ll want to check your pie crust and filling for any gluten or dairy content, especially if you’re cooking for someone with specific dietary restrictions. For a gluten-free version, there are plenty of gluten-free pie crusts available in stores, or you can make your own! Make sure to adjust the cooking time based on the crust’s instructions. Enjoy these delightful envelopes while keeping dietary needs in mind!
Cherry Pie Pastry Envelopes
Ingredients
Equipment
Method
- Preheat your oven to 375°F (190°C).
- Unroll the pie crust on a floured surface and roll it out gently.
- Cut out heart shapes using your heart-shaped cookie cutter.
- Spoon the cherry pie filling onto one heart-shaped crust.
- Seal the envelope with a second heart-shaped crust by pressing the edges together.
- Brush the pastries with whipping cream.
- Sprinkle the sparkling sugar generously over the tops.
- Bake the envelopes in the preheated oven for 20-25 minutes until golden brown.
- Cool the pastries slightly before serving.