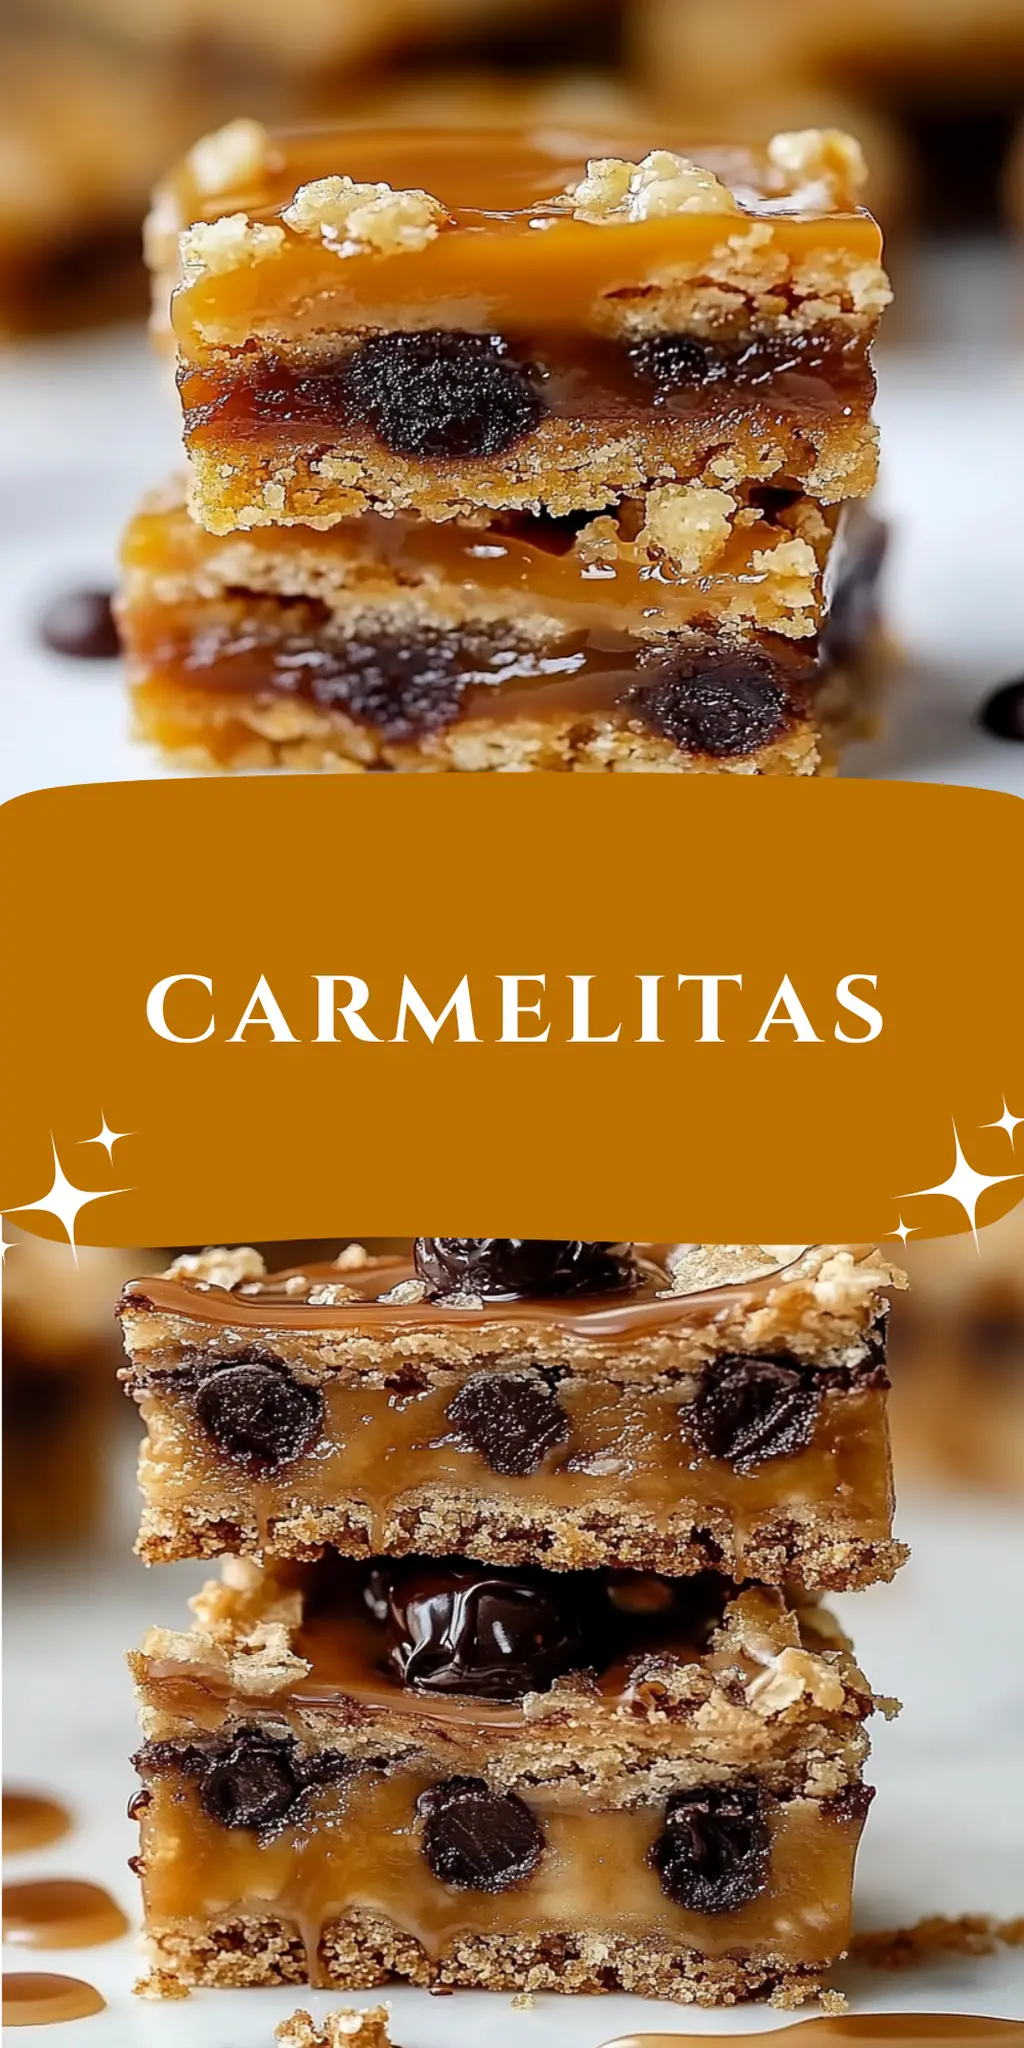
There’s nothing quite like the sweet, buttery aroma of Carmelitas wafting through the house, promising a warm embrace of comfort with every bite. Imagine biting into a soft, chewy treat where chocolate mingles with gooey caramel, taking you back to cozy afternoons spent baking with loved ones. This recipe was born out of a desire to create something that could easily quell any cravings for store-bought sweets—a homemade dessert that’s not only delicious but also perfectly suited for any occasion.
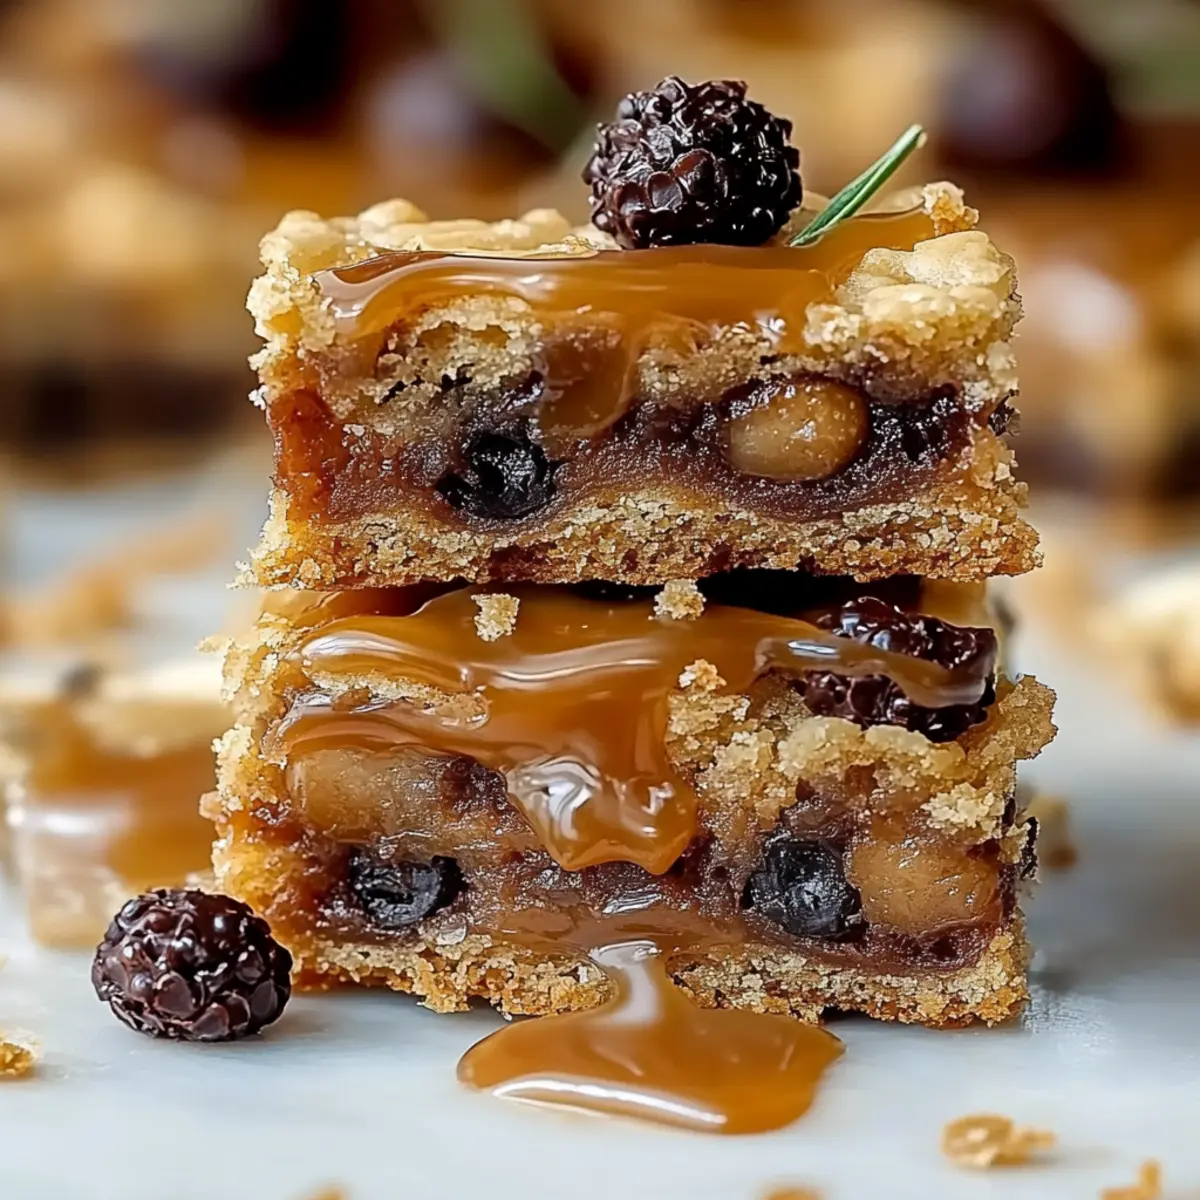
What I love most about these Carmelitas is their irresistible combination of textures, with a crumbly oat crust and the creamy sweetness of caramel that melts in your mouth. They’re perfect for sharing at potlucks, enjoying during family game night, or simply indulging after a long day. Best of all, they come together in less than an hour, making them a quick go-to dessert that impresses without the fuss.
So grab your apron and let’s dive into this delightful recipe that’s sure to become a staple in your dessert repertoire!
Why You'll Love This Carmelitas
- You will adore how easy it is to prepare these Carmelitas, with just 15 minutes of prep time before they go into the oven.
- The flavor combination of gooey caramel and rich chocolate creates a delightful experience that will satisfy any sweet tooth.
- Their versatility makes them perfect for any occasion, whether you’re hosting a party or enjoying a cozy night in.
- Plus, the visual appeal of those layered ingredients topped with a crumbly crust will leave everyone eagerly reaching for more.
Carmelitas Ingredients
For the Crust
• Butter – Melted butter ensures a rich, tender base for your Carmelitas.
• Light Brown Sugar – Packed for extra moisture and depth of flavor.
• Vanilla Extract – Enhances sweetness and adds a fragrant touch to the dough.
• All-Purpose Flour – Provides the structure needed to hold everything together.
• Old-Fashioned Rolled Oats – Gives a hearty texture and nuttiness to the crust.
• Baking Soda – Helps the crust rise for a lighter texture.
• Salt – A pinch balances sweetness and enhances flavor; separates out for later use.
For the Filling
• Soft Caramel Candies – The star ingredient that creates that deliciously gooey center.
• Heavy Cream – Melts into the caramel, making it pourable and luscious.
For Topping
• Semi-Sweet Chocolate Chips – Adds a delightful chocolatey richness that pairs perfectly with the caramel.
• Remaining Dough – Crumbling the leftover mixture on top creates an irresistible crunch.
How to Make Carmelitas
-
Preheat the oven to 350°F. Grease an 8×8 inch baking pan with parchment paper to easily lift out the finished squares.
-
Melt the butter in a medium bowl, then stir in the light brown sugar and vanilla extract until combined and smooth. This creates a beautifully creamy mixture.
-
Combine the dry ingredients by adding flour, oats, baking soda, and 1/2 teaspoon of salt. Mix until a thick dough forms that holds together well, resembling cookie dough.
-
Press half of the dough evenly into the prepared baking pan. Bake for 10 minutes, allowing the base to set but not fully bake through yet.
-
Melt the caramel candies and heavy cream together in a saucepan over low heat until smooth. Stir in the remaining 1/2 teaspoon of salt for flavor.
-
Sprinkle chocolate chips evenly over the baked crust, then carefully pour the warm caramel sauce on top. Crumble the remaining dough over the caramel for that irresistible texture.
-
Bake for an additional 15-18 minutes, until the edges are browned and the center is bubbly with blissful caramel goodness.
-
Cool the pan completely for at least 4 hours, allowing the flavors to meld and the texture to set beautifully. Lift from the pan and slice into squares.
Optional: Drizzle with melted chocolate for an extra indulgent touch.
Exact quantities are listed in the recipe card below.
What to Serve with Carmelitas?
Indulge in the sweet harmony of flavors with these delightful pairings that will elevate your dessert experience.
-
Vanilla Ice Cream: A scoop of creamy vanilla perfectly complements the rich caramel and chocolate, providing a refreshing contrast. The coolness of the ice cream paired with the warm Carmelitas creates a blissful treat for your taste buds.
-
Fresh Berries: Raspberries or strawberries add a burst of tartness that cuts through the sweetness. Their juicy freshness balances the rich flavors beautifully, making each bite vibrant and exciting.
-
Espresso or Coffee: A warm cup of coffee or a shot of espresso enhances the chocolate notes in Carmelitas. The bitterness of coffee melds seamlessly with the sweetness, creating a sophisticated pairing.
-
Whipped Cream: Lightly sweetened whipped cream adds a luxurious touch. It provides a fluffy texture that complements the chewiness of the Carmelitas, making every mouthful delightful.
-
Chocolate Sauce Drizzle: For an extra indulgent experience, drizzle melted chocolate on top before serving. It enhances the chocolate flavor and adds a glorious finish to each square.
-
Toasted Nuts: Chopped pecans or walnuts sprinkled on top add a delightful crunch. Their nutty flavor intertwines beautifully with the caramel and oatmeal, creating an irresistible combination.
-
Milkshake: A rich milkshake pairs well with the caramel and chocolate flavors. The creamy texture of the shake makes it a perfect dip for your Carmelitas.
-
Chai Tea: The warm spices of chai tea create a cozy accompaniment. Its aromatic profile enhances the dessert, making it perfect for a cozy evening treat.
How to Store and Freeze Carmelitas
Room Temperature: Store caramelitas in an airtight container at room temperature for up to 3 days for optimal freshness.
Fridge: For longer-lasting sweetness, keep them in the fridge for up to 1 week, but be sure to wrap them to prevent drying out.
Freezer: Freeze individual squares wrapped in plastic wrap and placed in a freezer-safe bag for up to 3 months. Thaw in the fridge overnight before enjoying.
Reheating: Warm them slightly in the microwave for 10-15 seconds to bring back that gooey caramel goodness when serving.
Carmelitas Variations
Feel free to explore these delightful twists on the classic Carmelitas to create your perfect treat. Let your creativity shine with each unique variation!
-
Nutty Delight: Add 1/2 cup of chopped nuts like pecans or walnuts to the crust for added crunch and flavor.
-
Gluten-Free: Swap the all-purpose flour for a gluten-free flour blend to accommodate gluten sensitivities while keeping that delicious taste.
-
Dairy-Free: Use coconut oil instead of butter and swap heavy cream for coconut cream for a luscious, plant-based version.
-
Extra Chocolate: Layer in a mix of milk and dark chocolate chips for a more intense chocolate experience that will please any chocoholic.
-
Spicy Caramel: Stir in a pinch of cayenne pepper or chili powder into the melted caramel for a kick of heat that beautifully contrasts with the sweetness.
-
Fruit Infusion: Replace some of the chocolate chips with dried fruits like cherries or cranberries to add a chewy, tangy element.
-
Cookie Swirl: Incorporate a few spoonfuls of cookie butter into the caramel sauce for an unexpected, rich flavor that will leave everyone guessing.
-
Coconut Crush: Mix in unsweetened shredded coconut into the filling for a tropical twist that adds a delightful chewiness.
These variations can transform your Carmelitas into something uniquely yours, making them an even more enjoyable experience!
Make Ahead Options
These Carmelitas are perfect for meal prep enthusiasts looking to save time on busy nights! You can prepare the dough and fill it up to 24 hours in advance. Simply follow the recipe through step 6, then refrigerate the assembled dish, covering it tightly with plastic wrap to maintain freshness and prevent any browning of the dough. When ready to enjoy, simply pop it in the oven and bake as directed, adding a few extra minutes if it’s coming straight from the fridge. This way, you’ll have warm, gooey Carmelitas ready to delight your family, all with minimal effort and maximum flavor!
Chef's Helpful Tips
- When making Carmelitas, ensure your butter is fully melted to create a smooth and creamy mixture for the dough.
- Be mindful not to overmix your dough, as this can lead to a tough texture; mix just until combined.
- For even melting of the caramel, stir constantly over low heat to avoid scorching and achieve that perfect gooey consistency.
- Finally, patience is key—let your Carmelitas cool for at least four hours to allow the flavors to develop and the texture to set properly before slicing.
Carmelitas Recipe FAQs
How do I choose ripe ingredients for Carmelitas?
Absolutely! For the best Carmelitas, use fresh, quality ingredients. For the butter, ensure it’s unsalted for accurate flavor control. The brown sugar should be soft and moist— if it’s hard, a quick fix is to place it in a sealed container with a slice of bread overnight to restore moisture.
What is the best way to store Carmelitas?
To keep your Carmelitas fresh, store them in an airtight container at room temperature for up to 3 days. For extended shelf life, place them in the fridge for up to 1 week, ensuring they’re wrapped well to prevent drying out. If you’re making a batch in advance, freezing is a great option!
Can I freeze Carmelitas?
Yes, you can! Wrap individual squares in plastic wrap, then place them in a freezer-safe bag. This way, they’ll stay fresh for up to 3 months. When you’re ready to enjoy, simply thaw them overnight in the fridge, and they’re good as new.
What should I do if my Carmelitas are too chewy?
Very! If your Carmelitas turn out overly chewy, it could be due to overmixing the dough or baking them for too long. To ensure a softer texture, mix just until combined and keep an eye on baking time—check for that lightly brown edge and bubbly center!
Are there any dietary considerations for Carmelitas?
For those with dietary restrictions, there are alternatives! Substitute gluten-free flour and oats for a gluten-free version. Be sure to check for dairy-free caramel candies and chocolate chips for a dairy-free treat. Always read labels to ensure all ingredients meet your dietary needs.
Can I add different fillings to my Carmelitas?
Absolutely! The more the merrier! You can mix in chopped nuts, dried fruits, or even swap chocolate chips for white chocolate or peanut butter chips for a fun twist. Just be sure to keep the balance so the caramel remains the star!
Carmelitas
Ingredients
Equipment
Method
- Preheat the oven to 350°F. Grease an 8×8 inch baking pan with parchment paper to easily lift out the finished squares.
- Melt the butter in a medium bowl, then stir in the light brown sugar and vanilla extract until combined and smooth. This creates a beautifully creamy mixture.
- Combine the dry ingredients by adding flour, oats, baking soda, and 1/2 teaspoon of salt. Mix until a thick dough forms that holds together well, resembling cookie dough.
- Press half of the dough evenly into the prepared baking pan. Bake for 10 minutes, allowing the base to set but not fully bake through yet.
- Melt the caramel candies and heavy cream together in a saucepan over low heat until smooth. Stir in the remaining 1/2 teaspoon of salt for flavor.
- Sprinkle chocolate chips evenly over the baked crust, then carefully pour the warm caramel sauce on top. Crumble the remaining dough over the caramel for that irresistible texture.
- Bake for an additional 15-18 minutes, until the edges are browned and the center is bubbly with blissful caramel goodness.
- Cool the pan completely for at least 4 hours, allowing the flavors to meld and the texture to set beautifully. Lift from the pan and slice into squares.