There’s something incredibly satisfying about the first bite of a creamy, luscious cheesecake, especially when it’s infused with the bright flavor of fresh strawberries. I found myself inspired one sunny afternoon while reminiscing about the dessert served at my best friend’s wedding; the sweet, tangy strawberry topping on a rich cheesecake made the moment unforgettable. That’s when I decided to recreate that magic at home with my Strawberry Cheesecake Bars.
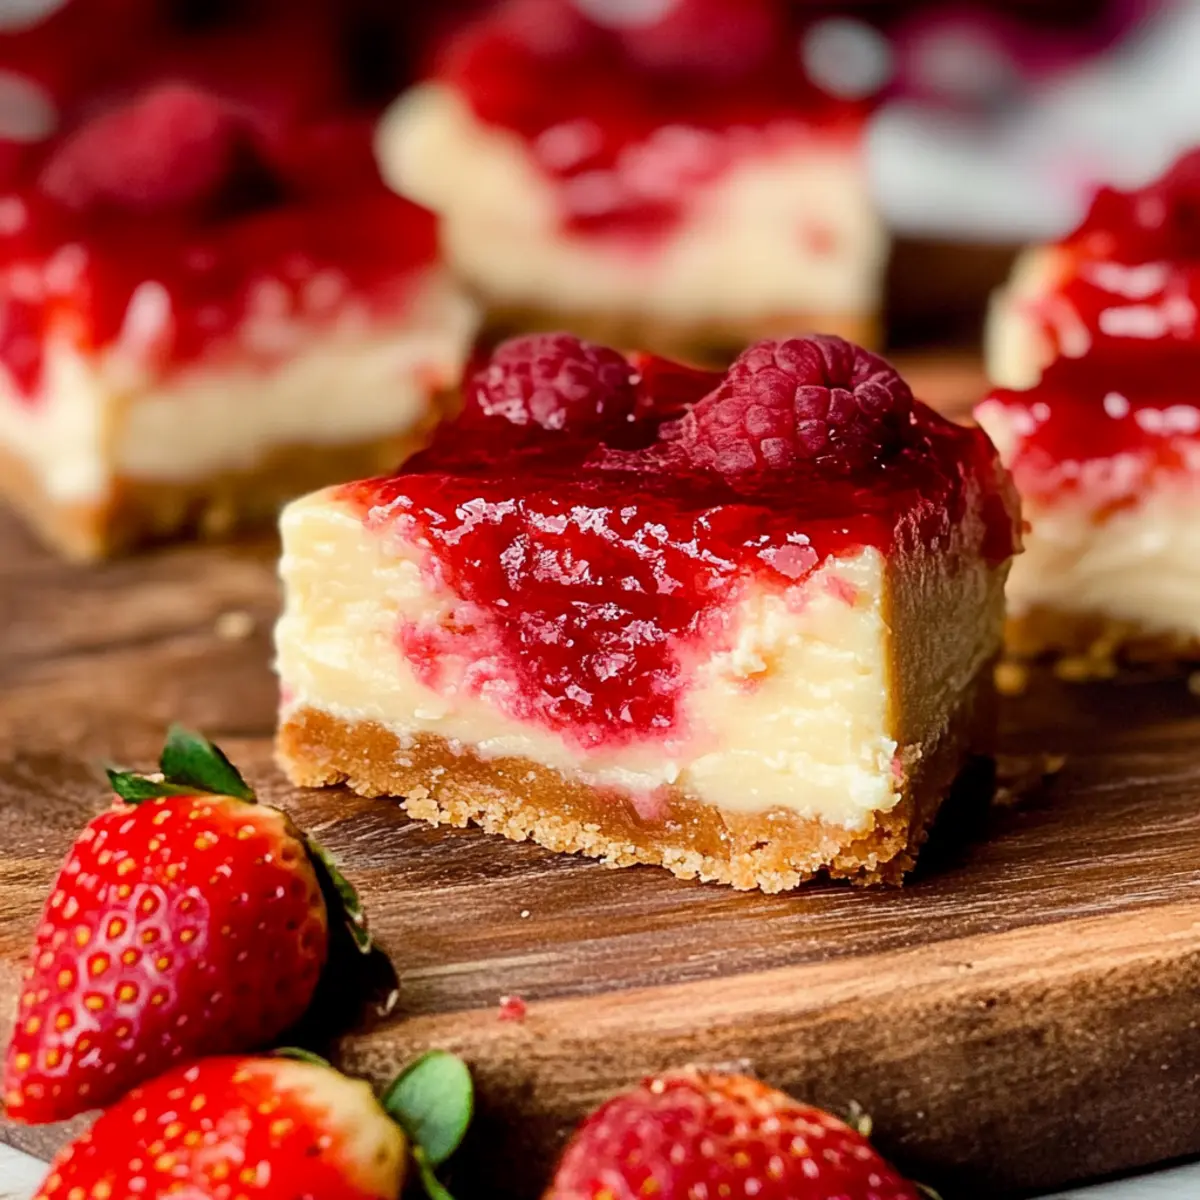
These bars are the ultimate dessert solution for anyone who appreciates the joy of homemade food—perfect for gatherings, potlucks, or just satisfying a sweet craving without resorting to fast food. With an easy-to-follow recipe that combines the crunch of a buttery graham cracker crust and the smoothness of a cream cheese filling, you’ll not just impress your friends and family, but you might even find yourself in a glorious battle to keep some for yourself! Join me as we whip up a batch of these delightful Strawberry Cheesecake Bars that are sure to brighten any day.
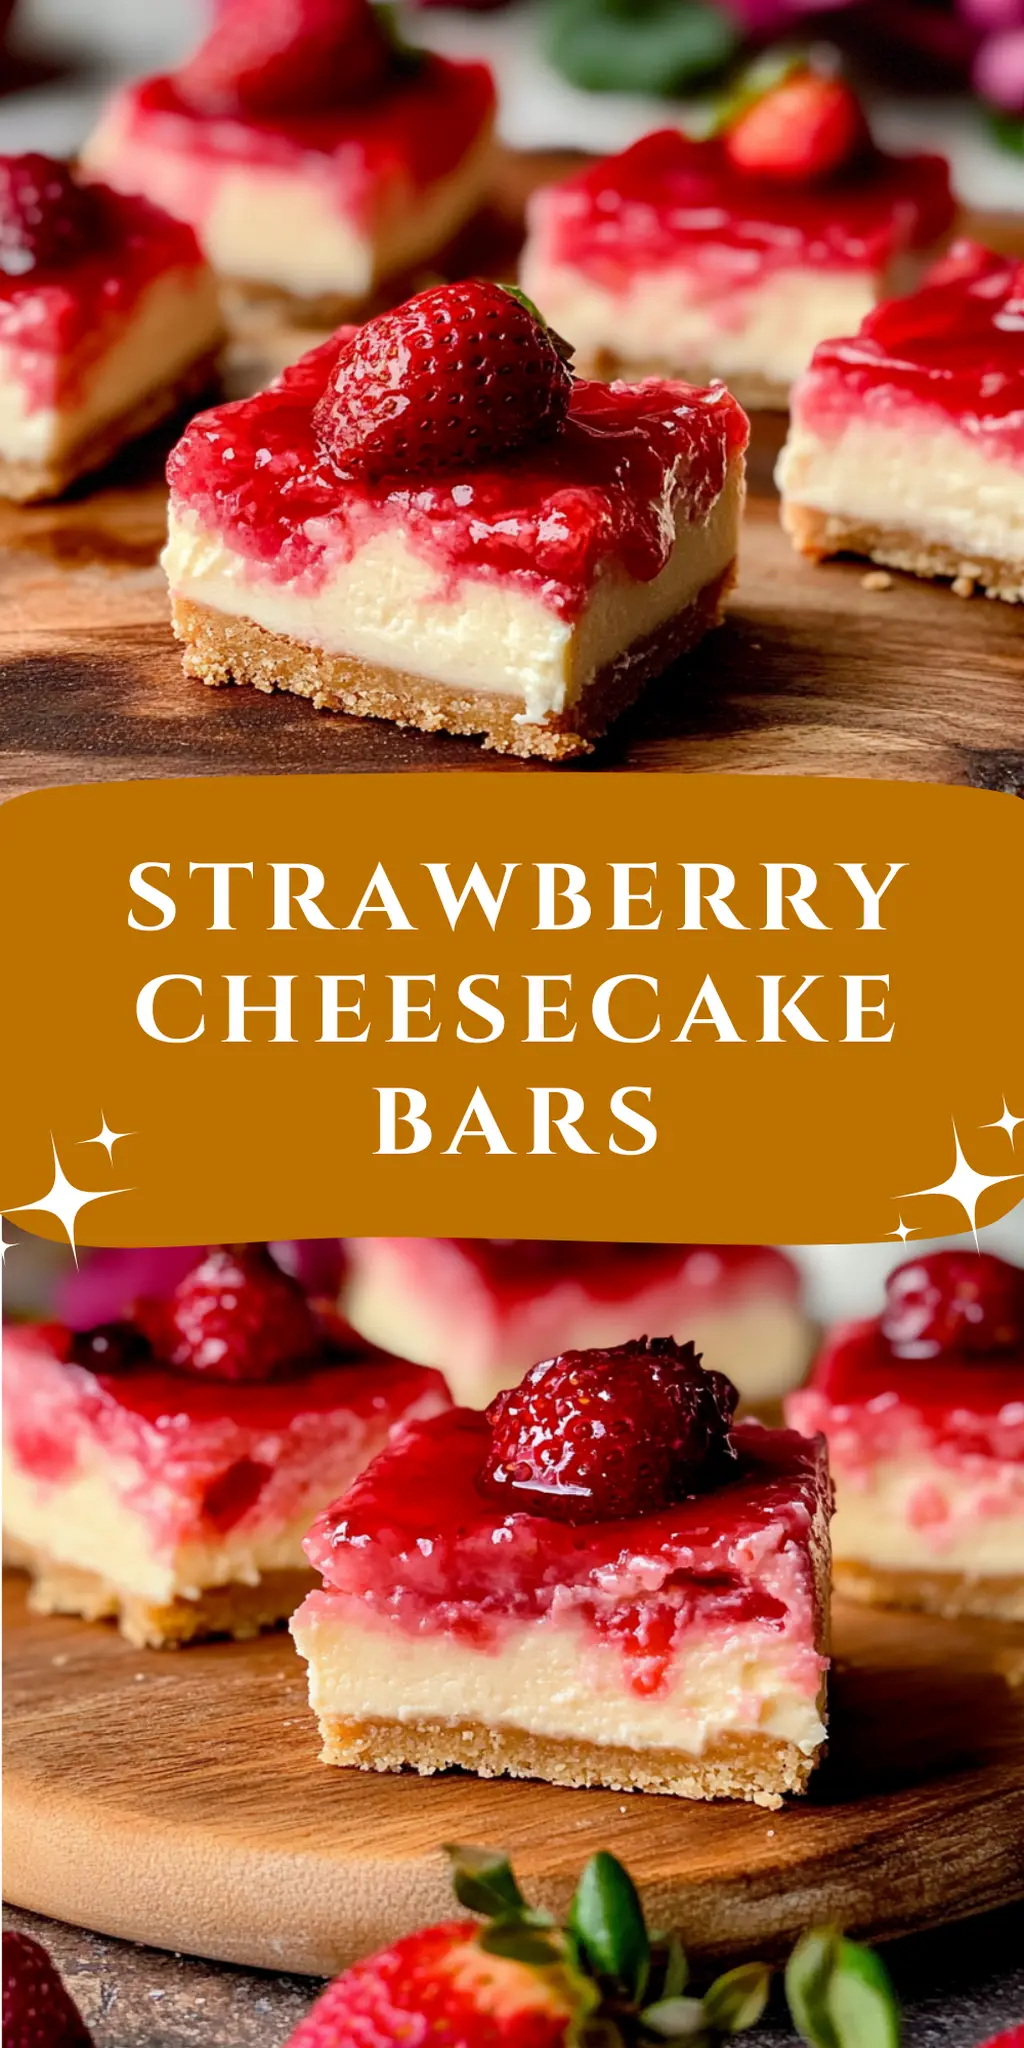
Why You'll Love This Strawberry Cheesecake Bars
- Making these Strawberry Cheesecake Bars is a breeze, allowing you to whip up a delicious dessert without spending hours in the kitchen.
- The rich and creamy cheesecake pairs perfectly with the vibrant, fresh strawberry topping, creating a flavor explosion that will have everyone coming back for seconds.
- These bars are incredibly versatile, making them ideal for any occasion—from casual family dinners to fancy gatherings.
- Their stunning presentation with the bright red strawberries on top not only makes them a treat for your taste buds but also a feast for the eyes.
Strawberry Cheesecake Bars Ingredients
• Here’s what you need to create your delicious Strawberry Cheesecake Bars!
For the Crust
- Graham cracker crumbs – bring a delightful crunch to your cheesecake bars.
- Brown sugar – adds a touch of caramel flavor to the crust.
- Unsalted butter – ensures a rich, buttery taste; melt it for easy mixing.
For the Strawberry Topping
- Fresh strawberries – the star of the show, providing that sweet and tangy flavor.
- White granulated sugar – enhances the natural sweetness of the strawberries.
- Lemon juice – adds brightness and balances the sweetness.
- Water – helps create the perfect consistency for the topping.
- Cornstarch – thickens the strawberry mixture to a lovely sauce.
For the Cheesecake Filling
- Cream cheese – the base of the cheesecake, make sure it’s at room temperature for easy blending.
- White granulated sugar – sweetens the filling, creating a luscious texture.
- Sour cream – adds creaminess and a hint of tang.
- Heavy cream – brings richness and stability to the cheesecake.
- Pure vanilla extract – infuses wonderful aroma and flavor.
- Large eggs – provide structure; let them warm up to room temperature for best results.
How to Make Strawberry Cheesecake Bars
-
Preheat the oven to 325°F (163°C). This step creates the perfect baking environment for your cheesecake bars.
-
Prepare a 9×9 inch pan by greasing it with non-stick spray and lining it with parchment paper. This ensures your bars come out easily after baking!
-
Combine graham cracker crumbs, brown sugar, and melted butter in a bowl. Mix until the texture resembles wet sand, which will help form a sturdy crust.
-
Press the mixture into the prepared pan evenly, then bake for about 12 minutes until lightly golden brown. This will create a delicious base for your cheesecake.
-
Cook the strawberries with granulated sugar, lemon juice, water, and cornstarch in a saucepan. Stir until thickened, about 5-7 minutes; then remove from heat to cool.
-
Beat cream cheese and sugar on high speed in a mixing bowl until smooth and fluffy. Then, add sour cream, heavy cream, and vanilla, mixing well until combined.
-
Incorporate eggs slowly into the batter, mixing until just combined. Avoid over-mixing to keep your cheesecake light and creamy!
-
Pour the cheesecake batter over the crust, ensuring it’s evenly spread. Then, bake for 35-40 minutes, or until the edges are set but the center still has a slight jiggle.
-
Cool the cheesecake completely at room temperature, then refrigerate for at least 6 hours before serving. Top with the chilled strawberry sauce for a vibrant finish!
Optional: Garnish with fresh mint leaves for a pop of color and flavor!
Exact quantities are listed in the recipe card below.
What to Serve with Strawberry Cheesecake Bars?
Elevate your dessert experience by pairing these vibrant bars with delightful accompaniments that enhance both flavor and enjoyment.
-
Fresh Mint Leaves: Their cool and refreshing taste perfectly complements the sweet strawberries while adding a pop of color to your plate.
-
Whipped Cream: Light and airy, whipped cream creates a lovely contrast against the dense cheesecake, bringing a touch of sweetness to every bite.
-
Vanilla Ice Cream: The creaminess of vanilla ice cream beautifully balances the tangy cheesecake, making each spoonful a luscious treat.
-
Chocolate Drizzle: A rich, warm chocolate drizzle adds an indulgent twist that harmonizes wonderfully with the strawberry flavor.
-
Coffee or Espresso: A cup of strong coffee or espresso contrasts nicely with the sweetness, providing a warm, aromatic touch to your dessert experience.
-
Lemon Sorbet: This refreshing sorbet offers a tart contrast, enhancing the strawberry notes while cleansing the palate between bites.
-
Berry Compote: A berry compote of mixed fruits can amplify the natural sweetness of the cheesecake, offering a burst of flavor with each forkful.
-
Sparkling Water: A crisp, bubbly sparkling water is the perfect palate cleanser, making it easy to savor the rich layers of the cheesecake.
Each pairing creates a unique experience, making your Strawberry Cheesecake Bars not just a dessert, but the highlight of any gathering!
Make Ahead Options
These Strawberry Cheesecake Bars are a fantastic make-ahead dessert that can save you time on busy weeknights! You can prepare the graham cracker crust up to 24 hours in advance; simply bake it, let it cool, and store it tightly wrapped at room temperature. The strawberry topping can be prepared up to 3 days ahead; just cook it, let it cool, and refrigerate it in an airtight container to maintain freshness. For the cheesecake filling, you can mix it and refrigerate it up to 24 hours before baking. When you’re ready to serve, simply pour the filling over the crust, bake until set, and let it chill before adding the strawberry sauce. With these prep in advance options, you’ll have homemade Strawberry Cheesecake Bars ready to impress with minimal hassle!
How to Store and Freeze Strawberry Cheesecake Bars
Room Temperature: Store leftover bars in an airtight container at room temperature for up to 2 days. However, for longer freshness, it’s best to move them to the fridge.
Fridge: Keep your Strawberry Cheesecake Bars in an airtight container in the refrigerator for up to 5 days. This helps maintain their creamy texture and flavor.
Freezer: For longer storage, freeze the bars in an airtight container for up to 3 months. For best results, wrap each bar in plastic wrap before placing them in the container.
Reheating: When ready to enjoy, thaw the bars in the fridge overnight. For a warm treat, gently microwave them for 10-15 seconds, just until softened.
Strawberry Cheesecake Bars Variations
Feel free to put your own twist on these delightful bars and explore different flavor profiles!
-
Gluten-Free: Use gluten-free graham crackers or almond flour to make a deliciously crunchy crust for everyone to enjoy.
-
Low-Sugar: Substitute granulated sugar with a sugar alternative, like stevia or erythritol, to reduce the sweetness and calories.
-
Berry Medley: Combine strawberries with blueberries or raspberries for a colorful and tasty topping that packs in even more fruity flavors.
-
Chocolate Drizzle: Add a luscious touch by melting dark chocolate and drizzling it over the cheesecake before serving; it’s a delightful contrast to the strawberries.
-
Coconut Cream: Replace heavy cream with coconut cream for a tropical twist that introduces a subtle coconut flavor and creamy texture.
-
Nutty Crunch: Stir chopped nuts like pecans or walnuts into the crust mixture for an extra layer of texture that enhances the overall flavor experience.
-
Spicy Kick: Add a pinch of cayenne pepper to the strawberry sauce for an unexpected, subtle heat that beautifully complements the sweetness.
-
Cheesecake Swirl: Before baking, swirl in Nutella or peanut butter into the cheesecake batter for a rich, decadent twist that chocolate and nut lovers will adore.
Chef's Helpful Tips
- When making Strawberry Cheesecake Bars, ensure your cream cheese is at room temperature to achieve a smooth and creamy filling.
- A common mistake is over-mixing the eggs; incorporate them gently until just combined to maintain a light texture.
- For the perfect crust, press the graham cracker mixture firmly into the bottom of the pan to avoid a crumbly base.
- Remember to bake the cheesecake until the edges are set while the center remains slightly jiggle to prevent overcooking and drying out the filling.
Strawberry Cheesecake Bars Recipe FAQs
How do I choose ripe strawberries for the topping?
Absolutely! Look for strawberries that are bright red, firm, and have a sweet aroma. Avoid ones with dark spots all over, as they may be overripe or starting to spoil. The best strawberries are those that are slightly glossy and feel heavy for their size!
What’s the best way to store leftover Strawberry Cheesecake Bars?
Very! Store leftover bars in an airtight container in the refrigerator for up to 5 days. This keeps their creamy texture intact. If you’d like to enjoy them longer, they freeze beautifully for up to 3 months when wrapped individually in plastic wrap before placing them in a container.
Can I freeze Strawberry Cheesecake Bars? How?
Definitely! To freeze your Strawberry Cheesecake Bars, first ensure they’re completely cooled. Wrap each bar in plastic wrap and then place them in an airtight freezer-safe container or a resealable freezer bag. When you’re ready to savor them, simply thaw in the refrigerator overnight. For extra enjoyment, warm them up in the microwave for 10-15 seconds to bring back the creaminess.
What should I do if my cheesecake cracks during baking?
Oh no! Cracks can happen, but don’t worry! To help avoid this, make sure to avoid overmixing the eggs—mix them in until just combined. Additionally, a water bath (bain-marie) can be used while baking to regulate the temperature and moisture, which can also help prevent cracking.
Are there any dietary considerations I should be aware of?
Yes! If you’re serving these Strawberry Cheesecake Bars to guests with dietary restrictions, consider using gluten-free graham cracker crumbs for those with gluten sensitivities. Additionally, you could substitute a dairy-free cream cheese and sour cream for a lactose-free version, keeping in mind that flavors might slightly vary. Always double-check ingredient labels for allergens!
Strawberry Cheesecake Bars
Ingredients
Equipment
Method
- Preheat the oven to 325°F (163°C).
- Prepare a 9×9 inch pan by greasing it with non-stick spray and lining it with parchment paper.
- Combine graham cracker crumbs, brown sugar, and melted butter in a bowl. Mix until the texture resembles wet sand.
- Press the mixture into the prepared pan evenly, then bake for about 12 minutes until lightly golden brown.
- Cook the strawberries with granulated sugar, lemon juice, water, and cornstarch in a saucepan. Stir until thickened, about 5-7 minutes; then remove from heat to cool.
- Beat cream cheese and sugar on high speed in a mixing bowl until smooth and fluffy.
- Add sour cream, heavy cream, and vanilla, mixing well until combined.
- Incorporate eggs slowly into the batter, mixing until just combined.
- Pour the cheesecake batter over the crust, ensuring it's evenly spread, then bake for 35-40 minutes, or until the edges are set but the center still has a slight jiggle.
- Cool the cheesecake completely at room temperature, then refrigerate for at least 6 hours before serving.
- Top with the chilled strawberry sauce for a vibrant finish!
- Optional: Garnish with fresh mint leaves for a pop of color and flavor!